
How to Stake OSMO (Osmosis)
Discover how easy it is to stake Osmosis OSMO tokens via Blockdaemon in this step-by-step guide.
Osmosis is an advanced AMM protocol built using the Cosmos SDK that is designed for cross-chain asset transfers. It leverages the Inter-Blockchain Communication Protocol, the Cosmos standard for blockchain interoperability.
Follow the steps below to stake your Osmosis OSMO tokens:
Step 1 – Your OSMO Wallet
- To stake OSMO, you will need an Osmosis wallet (app.osmosis.zone) and OSMO tokens available. For this guide, we are also using the Keplr wallet. This is an extension for various browsers, including Brave and Chrome.
- To start the process, sign in to your Osmosis wallet and click the Assets menu options.
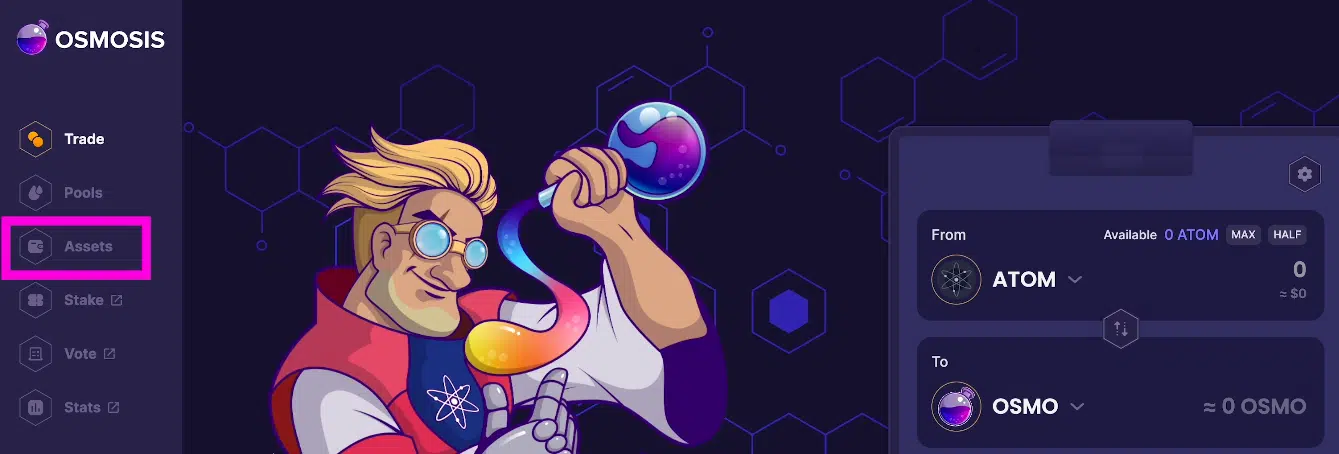
- Transfer your ATOM tokens to OSMO as needed, then click the Stake button.
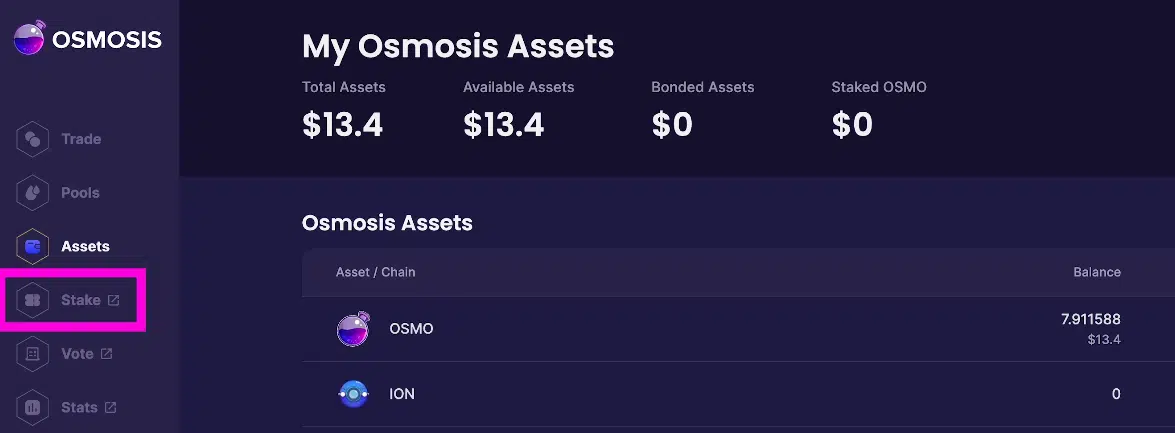
- This will take you to the Active Validators page.
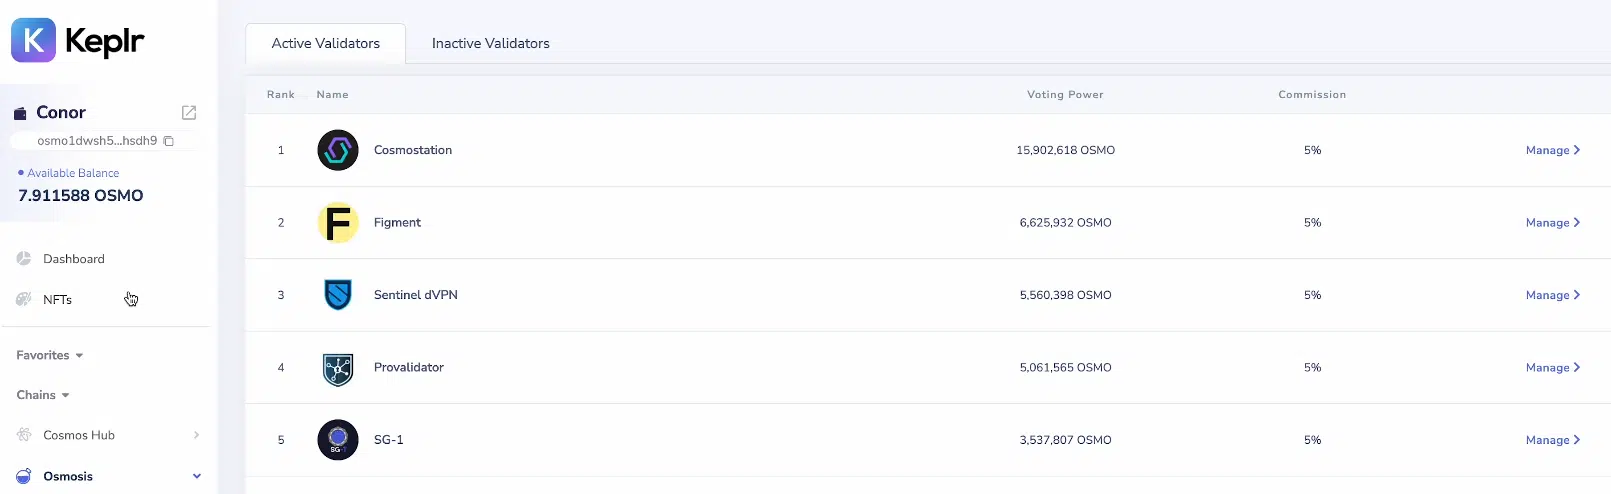
Step 2 – Choose the Blockdaemon Validator
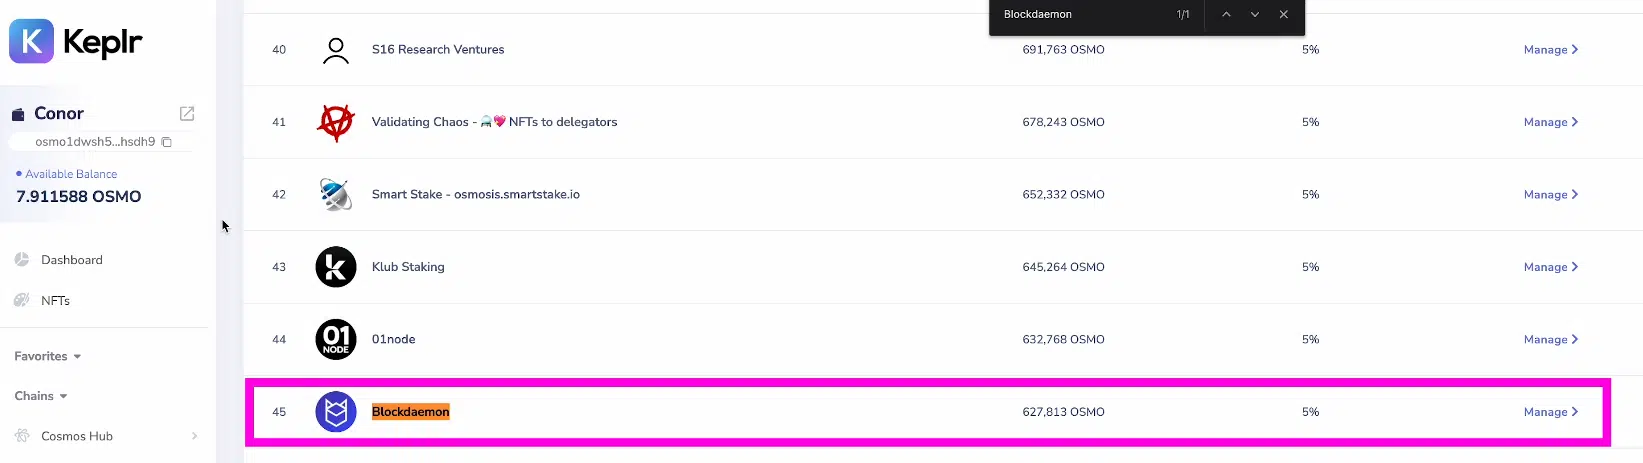
- Search for the Blockdaemon validator using CTRL+F (Windows) or Command-F (Mac) and typing Blockdaemon.
- Click Manage > in the right-hand column of the Blockdaemon validator row.
- The Blockdaemon validator pop-up window will be displayed.
- Click the Delegate button.

- The Delegation Amount pop-up window will be displayed.
Step 3 – Set Your Delegation Amount
- Enter the amount of OSMO you want to stake in the Amount to Delegate field.
- Click the Delegate button.

- This will reopen your Osmosis wallet.
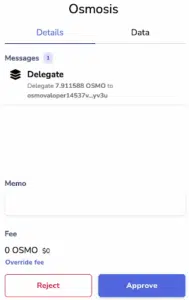
Step 4 – Set Stake Amount
- If you are happy to delegate your OSMO to Blockdaemon, click the Approve button.
- This will take a few seconds to process.
Congratulations. You are now participating in the Osmosis network. ![]()
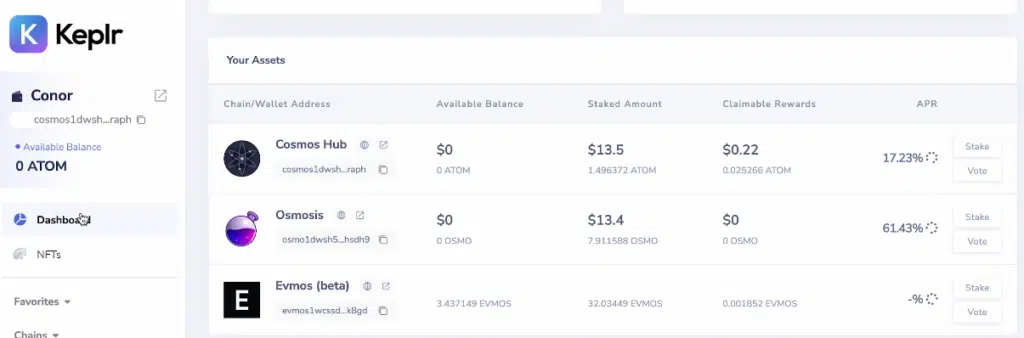
Step 5 – View Your Staked OSMO (Optional)
- You can now view your staked OSMO on your wallet Dashboard.
Check out our Osmosis staking walkthrough video:
Interested in running your own Osmosis Validator? Send us a message to get started.
Updated 4 months ago